Surface and Materials Characterisation
We use our laboratory resources to help our clients find the answers to their problems, complex or straightforward, in a quick and efficient manner. Our laboratory is very well equipped and provides excellent resources with which to solve a wide variety of materials-related problems.
Surface analysis
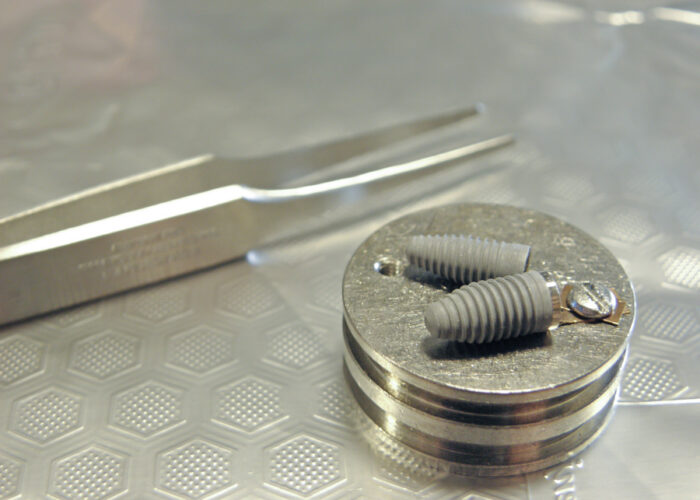
Auger electron spectroscopy (AES) is an analytical technique for elemental analysis of very thin films or small features (< 1 µm). During the last 30 years, surface analysis using AES has been a valuable quality assurance tool for medical implant manufacturers. The analysis technique has been successfully applied to develop and maintain efficient cleaning procedures for medical implants.
Materials characterisation
Scanning electron microscopy and Energy dispersive X-ray analysis (SEM/EDX) are widely used techniques, not only in our failure investigations, but also for the chemical characterisation of thicker coatings, slag inclusions, and corrosion products. Read more here.
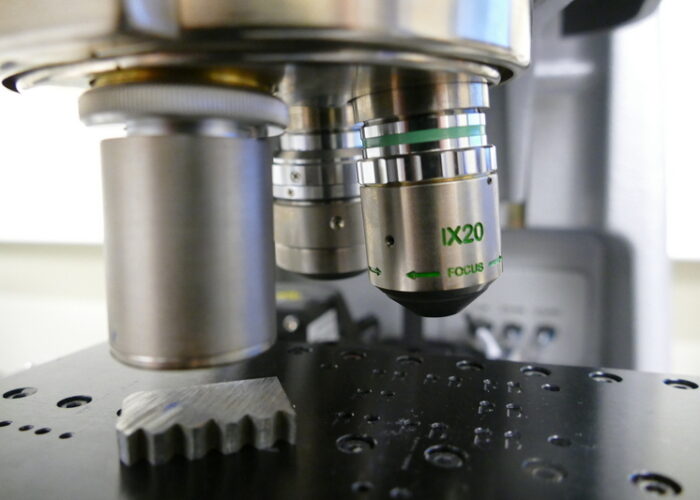
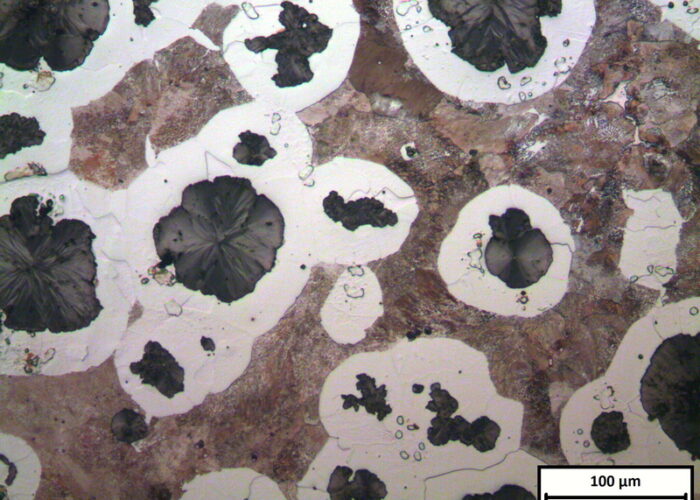
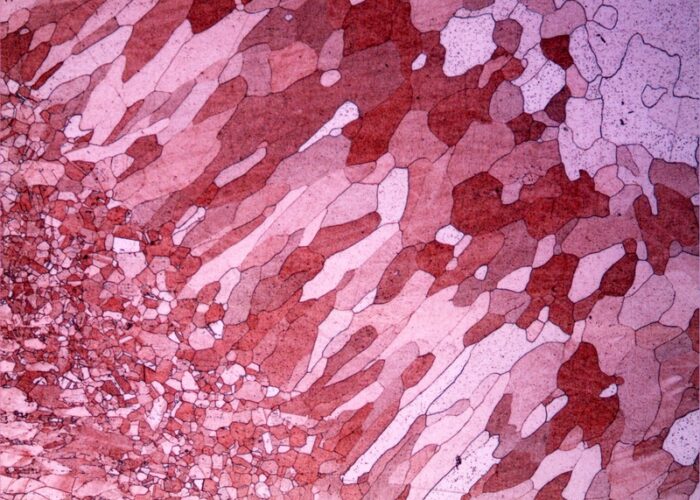
Our digital light optical microscope (LOM) is commonly used for microstructural studies. Incorrect heat treatment or improper welding often causes faulty materials with the material- and mechanical properties not meeting certain requirements as a result. Microstructural examinations such as phase identification and grain size measurements are typically conducted to help our clients understand how the material properties have been affected.
Tensile testing and hardness measurements are other important methods used to verify the material and mechanical properties. Read more about our mechanical testing methods here.
Typical specialized projects include:
- Examination of stains/foreign particles on metal surfaces
- Fracture analysis on components after fatigue or tensile testing
- Examination of corroded surfaces
- Evaluation of component quality from a new sub-contractor
- Chemical characterisation of coatings
- Coating/oxide thickness determination
- Hardening method evaluation
- Characterisation of microstructure/phase distribution
- Surface roughness measurements (Ra, Sa, Sz, etc.)


